Hi everyone! Today we would like to share with you our experience with moving platforms and physic based character controller in Unity.
This is an basic / intermediate tutorial. We will assume you know a bit of C#.

The problem
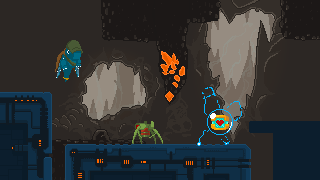
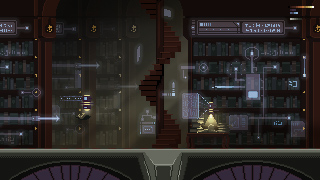
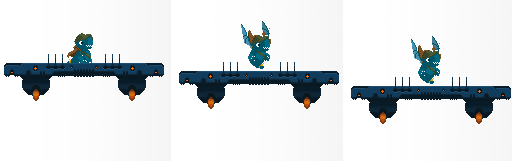
I will take as an example the elevator that our team has designed to allow our Dragon Bros to reach the lower levels of the mining facility.
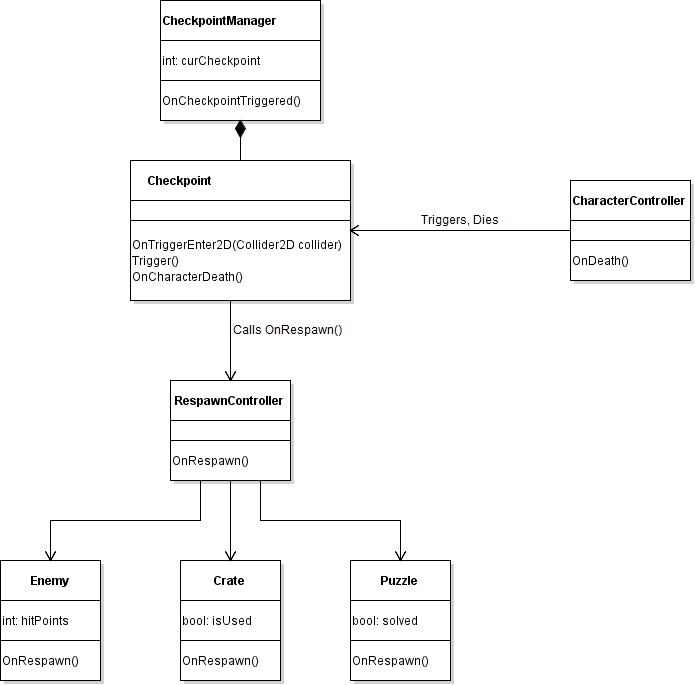
The first approach was to create a Gameobject with a BoxCollider2D, a Rigidbody2D and an animator. We also added a custom script to it, to keep track of the elevator status: waiting or moving.
The lift starts moving when one of the character triggers a designated collider (typically when entering the elevator’s cage).
Finally, an animation controls the movement of the lift, by simply changing the position of the elevator.
First problem
The elevator’s movement is shaky. It doesn’t matter if the character is on it or not.
First solution
Do NOT animate a rigidbody position. It is best to use RigidBody.MoveTo, so the rigidbody can compute the exact force needed to move to a position in one frame, by countering gravity, friction and inertia.
Once this is fixed, we encountered…
…A second problem
The resulting lift correctly moves, but the character is falling for a couple of frames, reaches the platform, collides with it, and then again fall again in an endless loop. It looks terrible and flickers.
And a second solution!
To solve this issue we decided to implement a SliderJoint2D to constrain the position of character on the y axis(vertical one).
void ConnectTo(Rigidbody2D character)
{
  SliderJoint2D joint = GetComponent<SliderJoint2D>();
  joint.connectedBody = character;
}

void OnCollisionEnter2D(Collision collision)
{
    if (collision.collider.gameObject.layer == LayerMask.NameToLayer("Character")
    {
        ConnectTo(collision.collider.GetComponent<RigidBody2D>());
    }
}
The slider is connected to the character RigidBody2D as soon as the character collide with the elevator. Now the character is not falling / flickering anymore, but the character has lost the capabilities to jump!
The solution to this is to create an event to be invoked when the player press the jump button. When the event is called, we release the slider. We will reconnect it when the character lands again on the platform.
void Connect(RigidBody2D  character)
{
    ...

    // listen to the character jump event
    character.GetComponent<CharacterController>().onJump += OnCharacterJump;
}

void OnCharacterJump(CharacterController character)
{
    Disconnect(CharacterController character);
}

void Disconnect(CharacterController character)
    // do not listen to this anymore
    character.onJump -= OnCharacterJump;

    // disable the joint by unplugging the character
    joint.connectedBody = null;
}
Similarly the slider is removed when the player walks away from the platform.
void FixedUpdate()
{
    if(joint.connectedBody != null
    &&  Mathf.Abs(transform.position.x - joint.connectedBody.transform.position.x)
        >= kBreakingDistance)
    {
        Disconnect(joint.connectedBody.GetComponent<CharacterController>());
    }
}
Now the character is constrained on top of the elevator. But it also is when colliding with its bottom or side! To solve this issue we will add a check on the direction of the collision.
void OnCollisionEnter2D(Collision collision)
{
    if (collision.collider.gameObject.layer == LayerMask.NameToLayer("Character"))
    {
        Vector2 direction = collision.contacts[0].normal;
        if (Mathf.Approximately(direction.y, -1f))
        {
            ...
And now the position of the character can be adjusted by properly setting the anchor point of the slider before connecting the two RigidBody2D.
// upon collision, record our distance and use it as an offset.
joint.anchor = new Vector2(0f, Mathf.Abs(transform.position.y - character.transform.position.y));
It looks better, but we still face a subtle flickering in the character and the platform.
We tried to decrease the Physic TimeStep to 0.01f instead of 0.02f and it actually made this issue less noticeable, but still visible and also lowering the overall performance. It was not a real solution, just hiding the problem!
We also tried to the change the physic material to increase the friction and zeroed the bounciness, made sure to move the lift RigidBody2D with the method RigidBody.Moveposition() and also increased its mass but the flickering remained.
A bit desperate, we tried parenting the character to the elevator, which kind of worked but raised other issues. Disabling the collision between the elevator and the character kind of worked as well, but proved unnecessary later.
Final solution to the flickering
The flickering is due to the opposite forces being applied by the slider and the collider of the platform counterbalancing the weight of the character, plus the approximation made by the physic engine.
To solve the problem, we nullified the gravity scale on the character as soon as it collides with the elevator and store it. When it disconnect, its gravity scale is set back to its stored original value.
And there you go…. we now have the perfect elevator!
THE FUTURE
Local multiplayer
If you have two players or more sharing the elevator, you will probably encounter problems with the previous code!
The solution is pretty simple: have one slider joints per player. Store them in a table and store the players in another table. Surround the code with a few loops, you’re done!
Complex cart movement
Maybe you want your cart to stop midway, as if temporary out of order? Or you want it to go very fast suddenly, as if the brakes are giving up? There are many ways to do this. The one we chose was to have a list of waypoints, each assigned with a speed and an optional wait. We created dummy game objects in our scene, named “Elevator Waypoint 1”, etc, and assigned them to the elevator’s list of waypoints.
Super mining cart
This lift is the first step towards… a mining cart of course! Now that you have locked the vertical movement, you will simply need to lock the horizontal one as well, with a slider joint at 90 degrees. This system combined with the cart movement will allow you to easily create crazy mines levels!

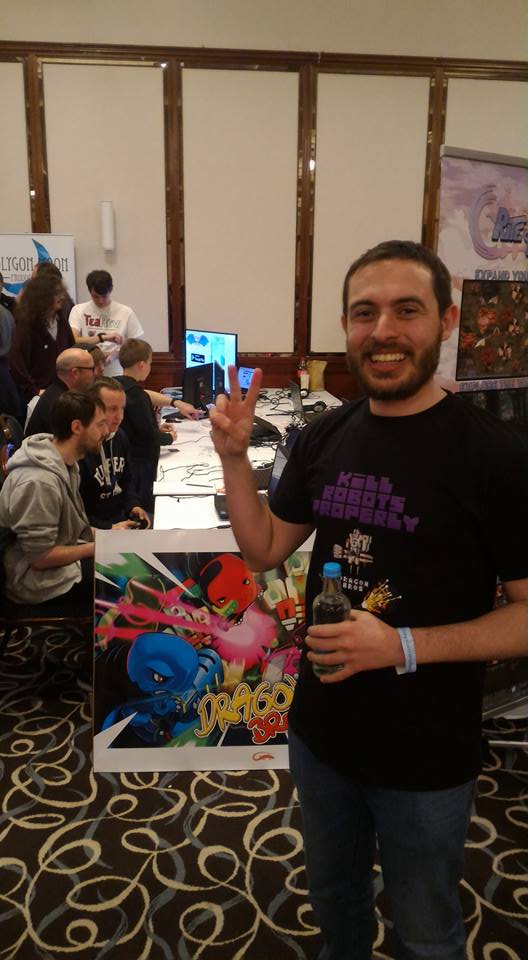
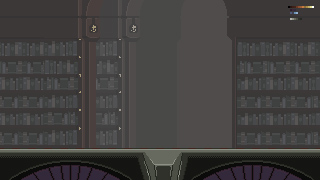
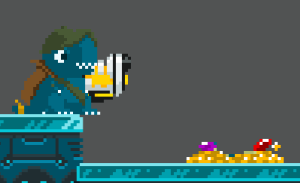
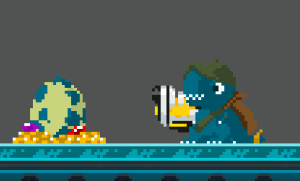
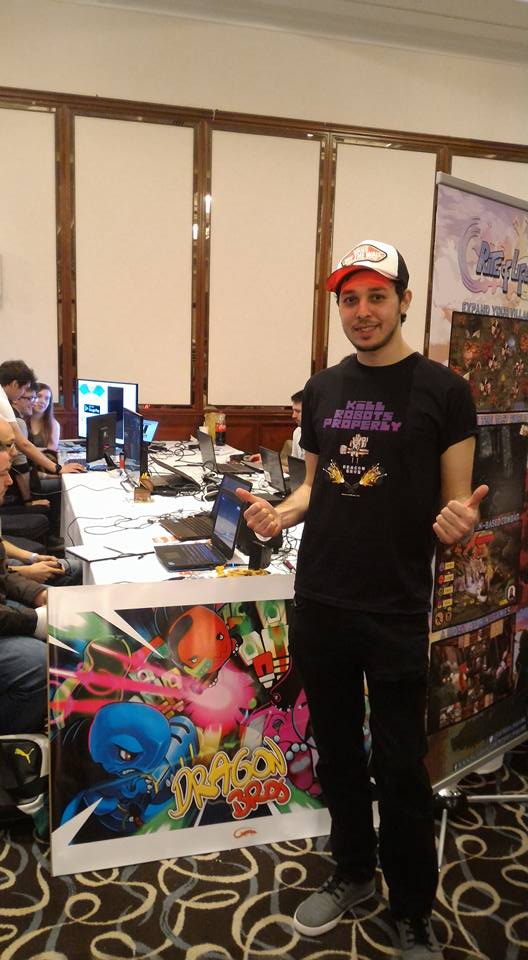 A truly sad Gabriele


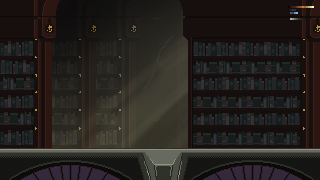
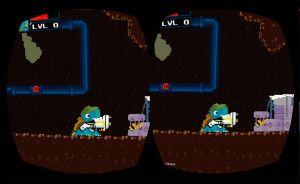 A quick glance at what it looks like eventually
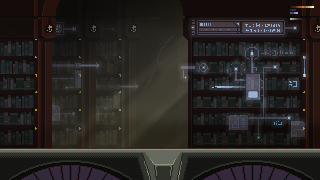
 Lorenzo and Guilhem trying an early version of Dragon Bros on google cardboard