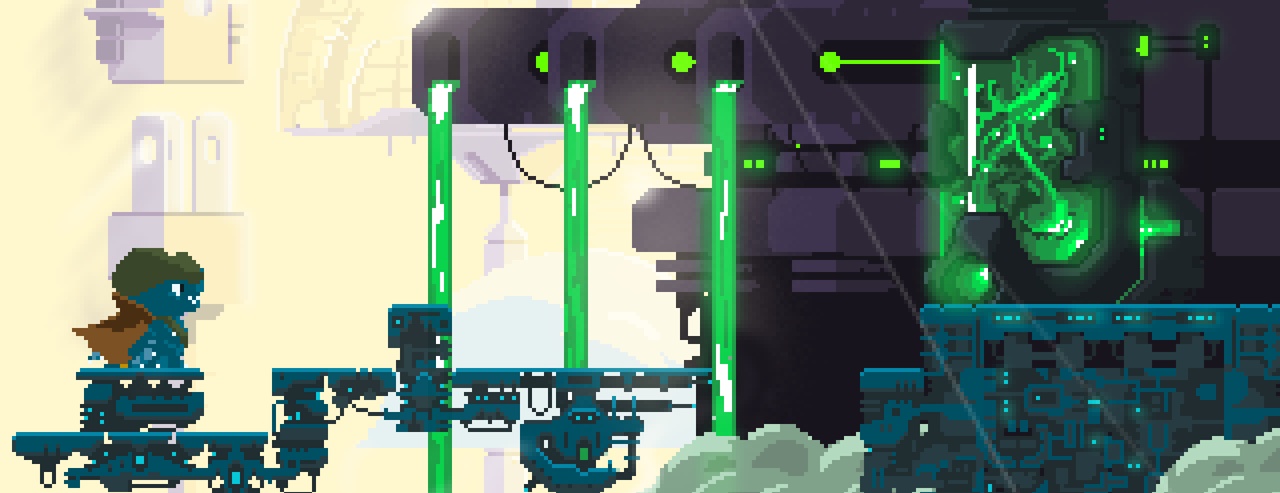
Today we would like to share with you some lessons we learned from creating a tile editor in Unity.
As we entered production phase for our game (yeah!), the need to quickly produce levels and assets is higher than ever. In response to this, our programmer created a simple 2D tile editor for unity. It allows us to paint terrain bricks and background alike within the Unity scene, WYSIWYG style.
The basics
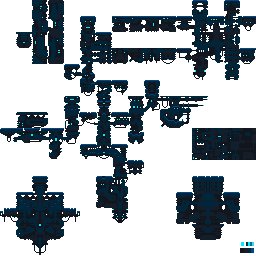
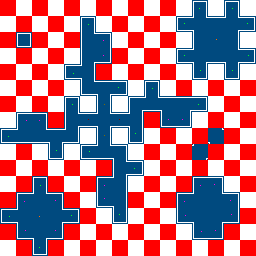
Each tile set is first defined in a texture. Here is a simple one, with no shading and a very simple style:

Some are much more complex, with variation and shading:
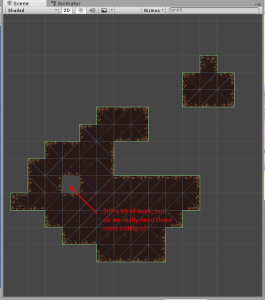
When you use the tile editor brush tool in the scene, it looks like this:
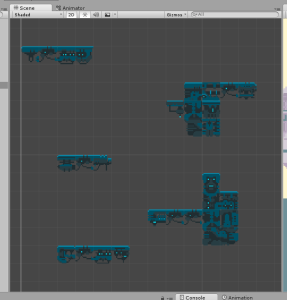
The tile editor detects automatically if a tile is a floor, a ceiling, a wall or a corner for instance. It draws the tile accordingly. Upon adding a new tile, or deleting another one, we use a breadth first search to update its neighbors.
Collider issues
We later added the ability to have colliders attached to the bricks. At first we had one collider per brick, but on flat floor it ended up blocking the character and the enemies with a square collider:
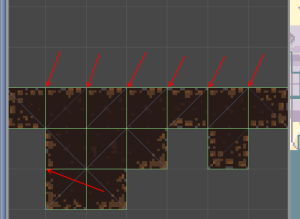
On the red arrows, the seam was not always perfect. If tile A was slightly higher than tile B (because of float precision?), your character would get stuck!
So we switched to an enveloping collider made of a unique EdgeCollider2D per cluster of tiles.
No more seam problem! We just have a clever algorithm. We were so worried that it would be expensive to run it when using the tile brush that we added a little button to do the computation when our level designer is finished. But after some optim, we could probably have it in real editing time!
Mapping issues
At first we had one texture per tile, not per tile set. With simple tile sets, it meant about 6 or 7 textures. But with the more complex ones we climbed to 47 textures. And artists wanted even more! Each time you add a bit of complexity, the number of textures explodes (combinations!).
The first solution was… the creation of an exporting tool to create the 47 materials automatically from the textures! We now have a neat small tool to automatically create simple materials from folders of textures, including subfolders and cleaning / overriding options. But we tackled the problem in the wrong way: it was simpler to just allow the artists to have their tile set on a single texture of course!
So we switched to one texture = one tile set. Then we just divide this texture in sub textures with some in house altas system. Since we use a fixed 16 pixels = 1 unit, we have textures that are multiple of 16.
Still not perfect
The only issue now is the mapping of those textures. If your tile set is composed of 6 or 7 kind of tiles (floor, corner, inside, etc), it’s easy. But for the 47 types of tiles, it’s actually pretty hard to remember exactly what is a tile named “inside 3 ways bend down left” or a “Corner thin right up”!
The interim solution at the moment is the use of guides. Every type of tile set (simple, simple with shaded corners, complex, etc) has a guide made by the programmer and followed (as best as possible) by the artist:

- Green: mandatory tile, with borders indicated by the white outline.
- Pastel green: just here to help, can be used for extra tiles (variation).
- Orange and white: extra guide layer, can be used for extra tiles (variation).
Here is a more complex one:
Once the artist has filled those guides, all he has is to create an new tile set and attach his texture to it!
If he wants to have some variation, he will need to find out the cell coordinates of the tile and tell his category to use those coordinates if variation is needed.
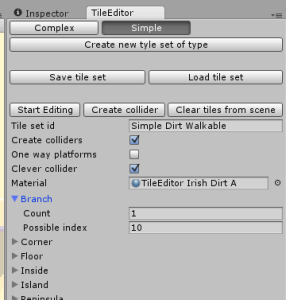
Above you can see the “branch” category has only one possible sub texture (the number 10).
Ideally
Ideally, we should not have to rely on filling the coordinates. Instead, we should see, in the Unity editor, the full tile set texture drawn. Upon clicking on a sub texture, a pop up should appear with the list of possible categories, to allow the artist to choose which category should apply to this sub texture.
Future
We still have a lot of ideas to improve this tile editor! We would love to have animated tile set, to repair the once-working jump through platform tile sets, to have difference size of brushes, to fix all the bugs and to have more user friendly UI.
Thanks for bearing with us!